
Sow, grow, thrive: how to set up a community garden
Want to give it a go? We’ve put together a few tips to help you create a thriving community garden. Let’s get growing!
Step 1: Speak to the community
First things first, put the word out! Speak to your neighbours, local schools, businesses, and anyone else who might be interested in getting involved. Whether it’s putting in mahi, providing materials, offering donations, or simply spreading the word–every little bit helps. After all, a community garden will only succeed when a whole community bands together to create and maintain it. Many hands make light work!So have a kōrero, rally the troops, and set a date to discuss the next steps.
Step 2: Build your dream team and start planning
It’s time to get down to business! Once you’ve got a group of people together who are committed to making the garden thrive, it’s time to set goals and get planning. First, decide what your garden will focus on–maybe it’s veggies, herbs, flowers, or a little bit of everything. Then, map out how you want the garden to look, who's responsible for what, and your next steps so that everyone is on the same page. We recommend putting together a written agreement to avoid any hiccups down the road. It might sound over the top, but it’s helpful for everyone’s expectations to be aligned.Step 3: Find the perfect spot
Location is key! Scope out your options and get to researching. If there are any existing community gardens in your area or nearby areas, this is a good place to start. Chat with their members for tips and tricks on what works (and what doesn’t). Maybe a local school has a corner of their property that’s being underutilised. Council-owned land near a stream or park might be a perfect option. A church might have some land (and some hands) to gift. Or maybe a neighbour has a massive section that could be put to good use – and they’re excited to share it with their community. Don’t rule anything out!Step 4: Get the council on board
It’s time to plant the seed! Once you’ve found the perfect location, take your plans and run them past your local Council or Community Trust (if one exists). They could be keen to support your community project, so don’t be afraid to shoot your shot. They’ll also be able to give you any information you need about land ownership, permissions, and any future developments.Step 5: Check out your location
You’re nearly ready to get planting, but first, you need to check the condition of your garden’s location. Below is a list of questions to help you:
- Is the soil safe to grow your produce?
- Is there access to water?
- Does the location get enough sunlight?
- Is it easily accessible for everyone, including those with mobility challenges?
- Can vehicles get close for deliveries or maintenance?
Step 6: Healthy soil, healthy garden
Good soil is the secret to a thriving garden, so don’t skip this step! If your soil isn’t up to scratch (heavy clay-based or light sandy soil), consider installing raised garden beds. If this isn’t an option, try nourishing the existing soil by adding compost, organic plant food and mulch to lock in moisture. After around six weeks, test your soil again. If it’s still not up to standard, you’ll need to repeat the process again.
It may sound like a long process to get started, but putting effort into this step will pay off when your garden blooms!
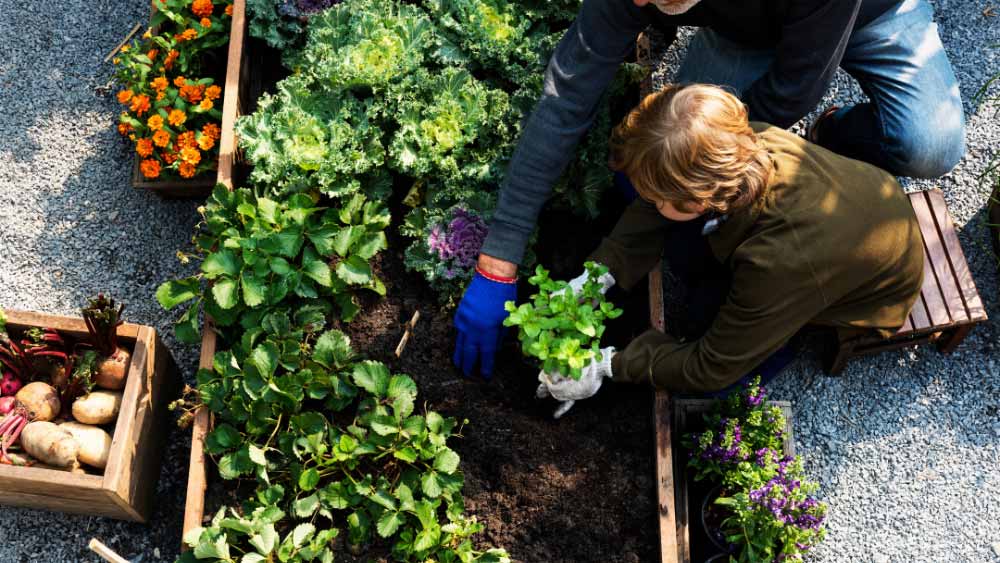
Step 7: Let’s get growing!
The step you’ve been waiting for–it’s time to get your hands dirty! Gather the dream team and get planting. We recommend organising a working bee with allocated roles, from digging, planting, and watering to general maintenance, so everyone feels they have a role in bringing this community garden to life.
Make sure to bring some food and include a seating area to encourage people to chill, chat, and connect.
Ready to connect?
Check out the connection process, to know what choices you'll need to make as part of getting connected to natural gas.
Submit your natural gas connection application today. Our customer team will then ring you to confirm a few more details and progress your application.
Want to know more?
If you've had a good look around our website and still have questions let us know what you'd like more information about.